
Geek - Info, PiBOX India
Raspberry PI – Official Case – Installation
Nov
Raspberry PI – Official Case – Installation
Introduction:-
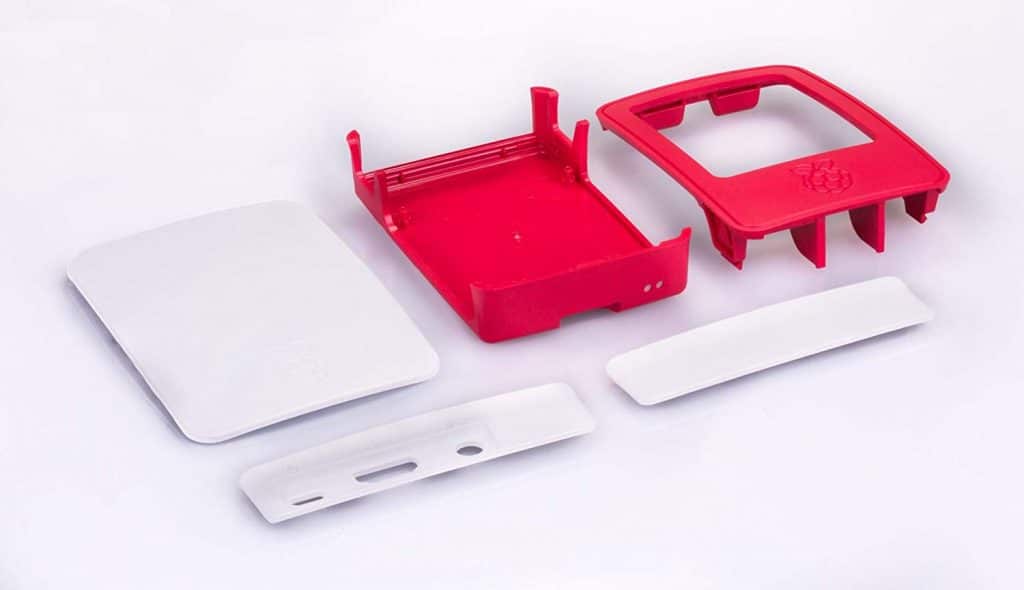
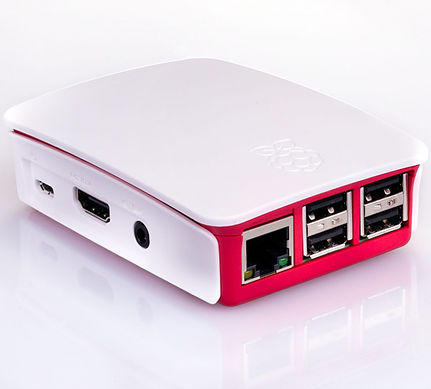
The Official Raspberry Pi Case was designed for housing Raspberry Pi 3b and Raspberry Pi 3B+ boards. This post documents how you can assemble a Raspberry Pi 3B and 3B+ board with the Official Raspberry Pi 3 Case – Red/White.
The instructions here is applicable to the Raspberry Pi Black case as well.
Specification and Features :
-
Optional clip-on lid provides protection but can be removed if using a HAT
-
All primary ports (including microSD) accessible
-
Removable side plate allows access to those wonderful GPIO pins
-
Snug and secure fit protect your Pi while looking great!
-
Anti-slip feet keep your Raspberry Pi stable
-
Power and activity lights still visible through the end of the case
-
Dimensions: 98 x 72 x 26 (LxWxH) mm.
Installation Steps:
1. Please unpack the case from the pouch.
2. Pry the case using a flat head screw driver / Pull the case at the following points mentioned below.
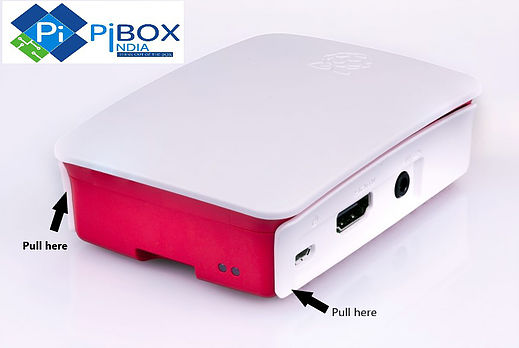
3. Pull the yellow triangle in the direction pointing upwards
4. Unpack the small plastic case with silicone 4 Dots – This goes to the bottom of the case.
5. Install the small transparent plastic to match the LED holes.
6. Insert the board at a 30 degree angle with MicroSD card side facing down. (This will prevent the board from getting blocked by hinges) Ensure that there is no gap between the case and board.
7. Put the case back in the reverse order the same way it was removed
8. Power up your pi to see your future!!!
Good luck with your Pi Ventures.
Questions and Suggestions :- / Whatsapp: 8072238441
Just another method to show our customer –
YES WE CARE !!!! – WWW.PIBOX.IN
Awesome Video learned lot
Excellent case. Fits really well and has all the attachments in the right places.