PIBOX India - Video Capture Devices
Current Stable series !
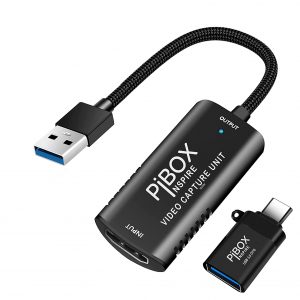
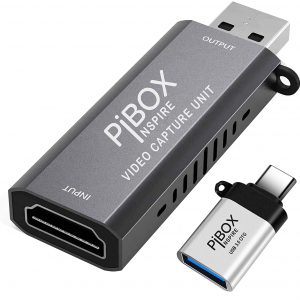
PiBOX India Video Capture card series:
Scope:
This document – will cover the following
- Product Series
- Comparision
- Troubleshooting
- Installation – [Refer individual product page]
Expand below topics for Detailed information – Press ∨ below
Video Capture Card
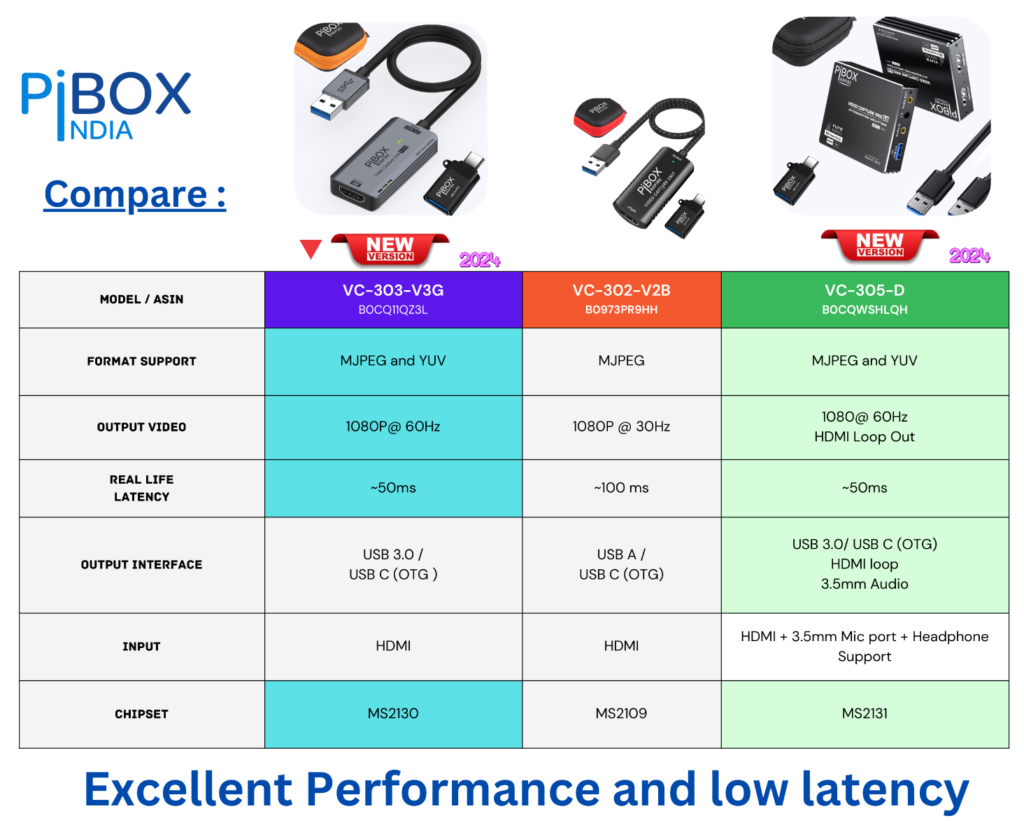
FEATURE COMPARISION:

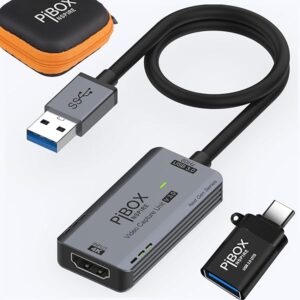
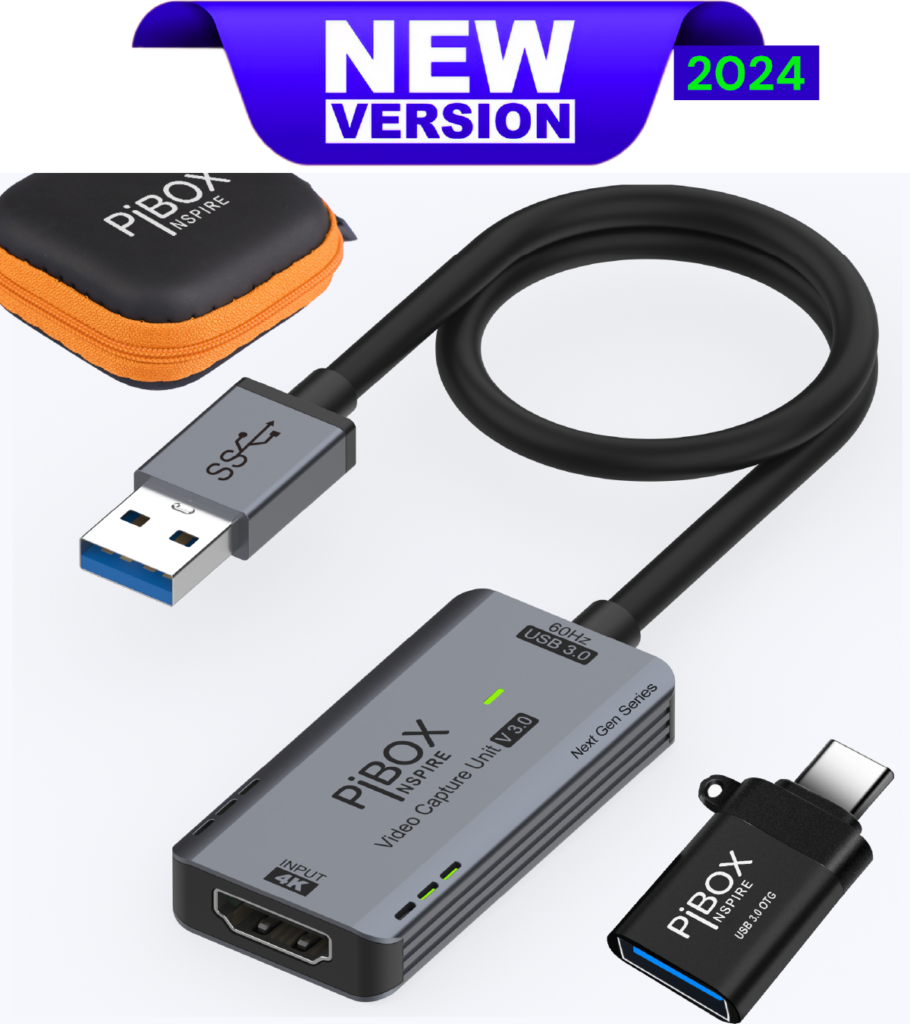
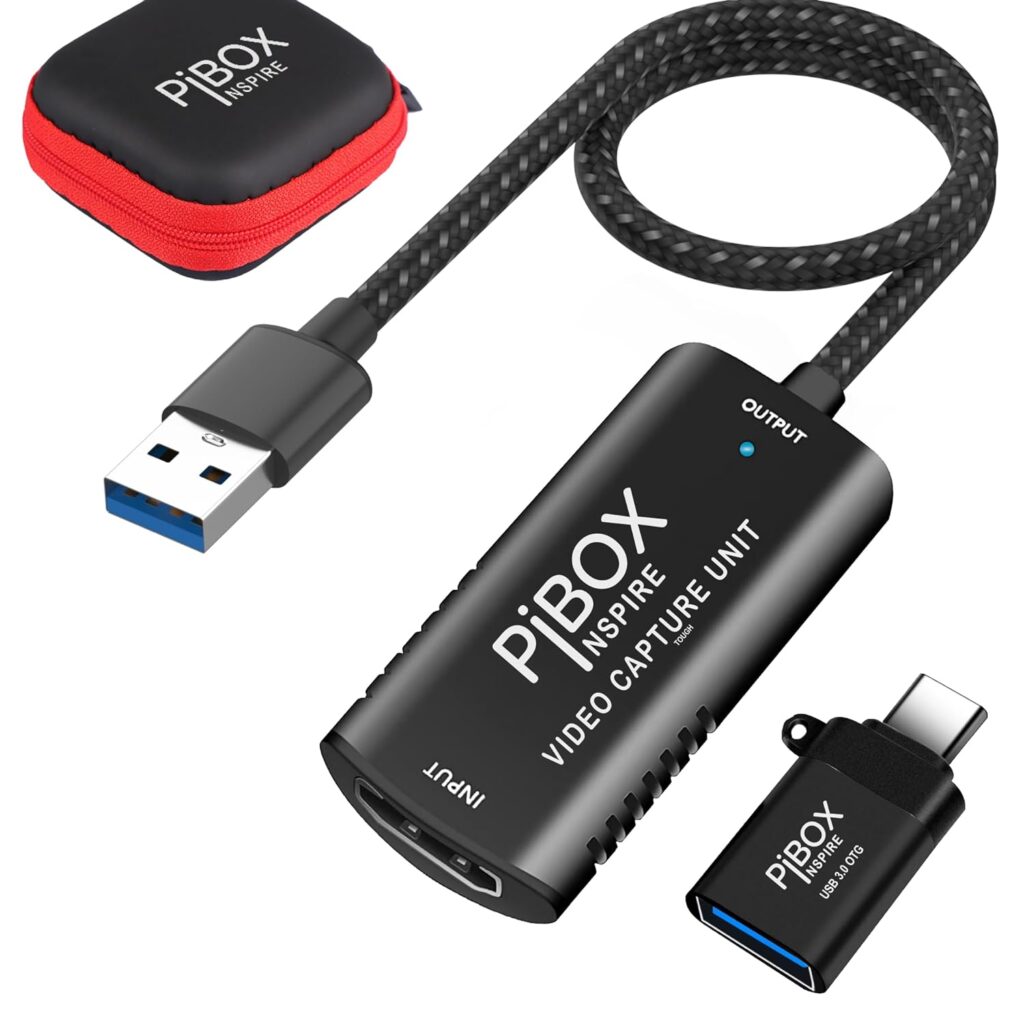
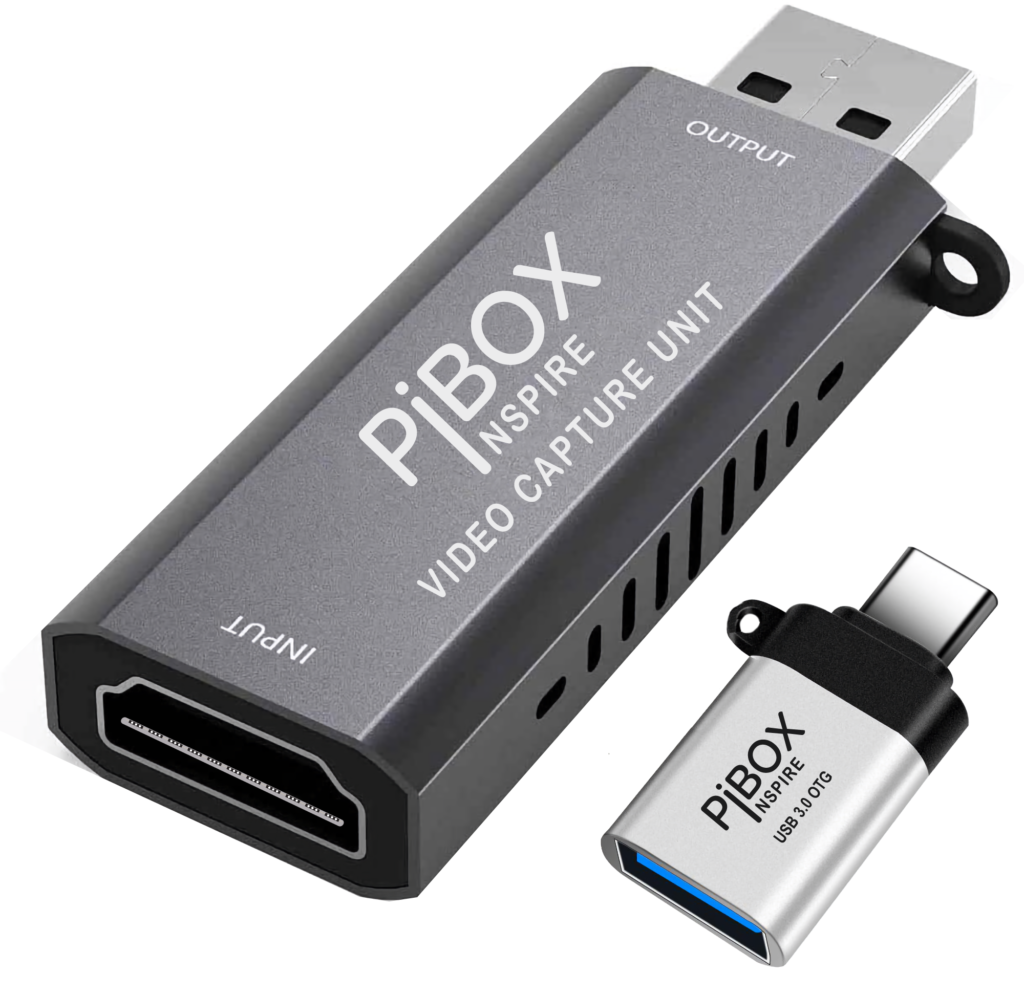
Video Capture VC303-V3G |

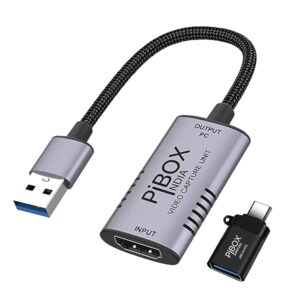
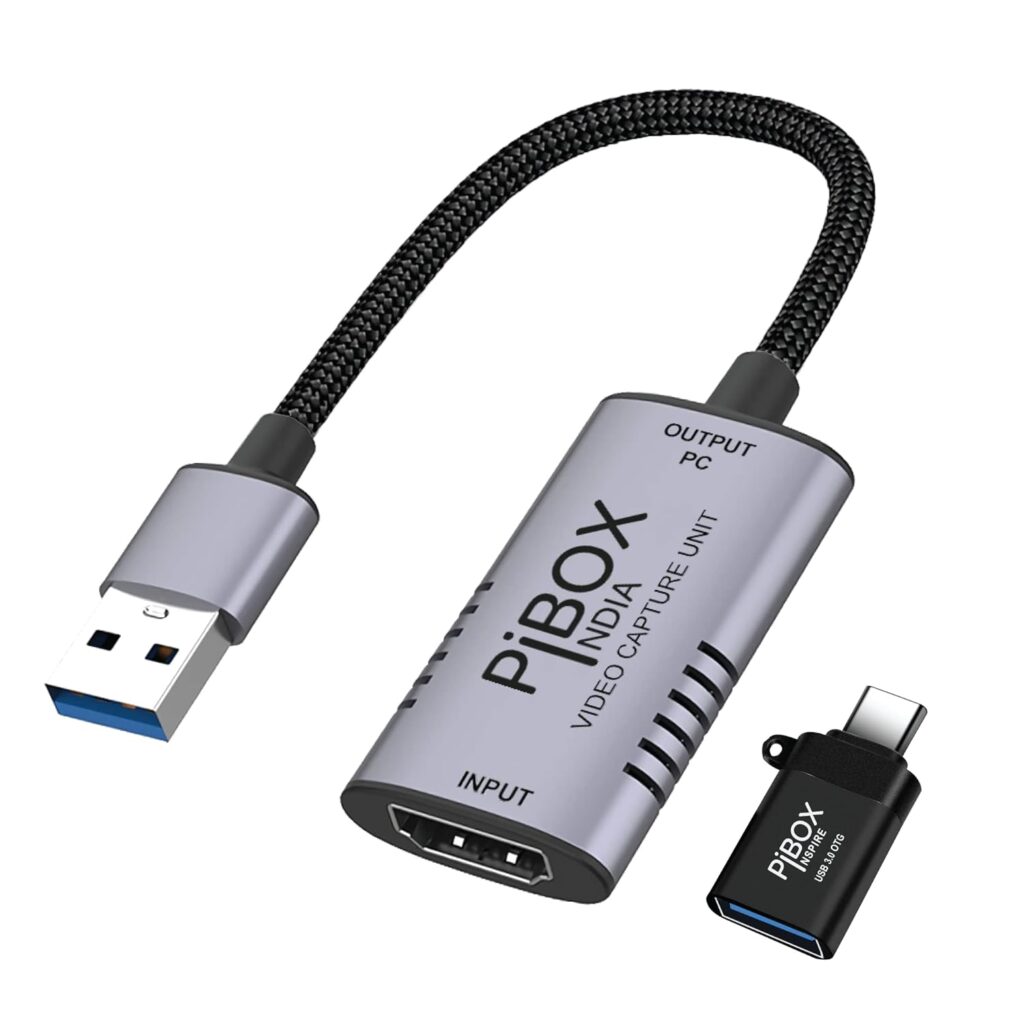
Video Capture VC302 |

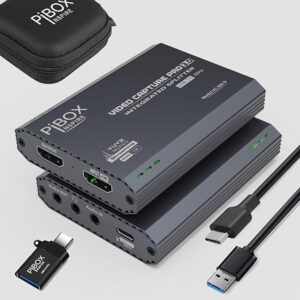
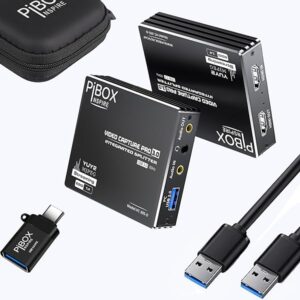
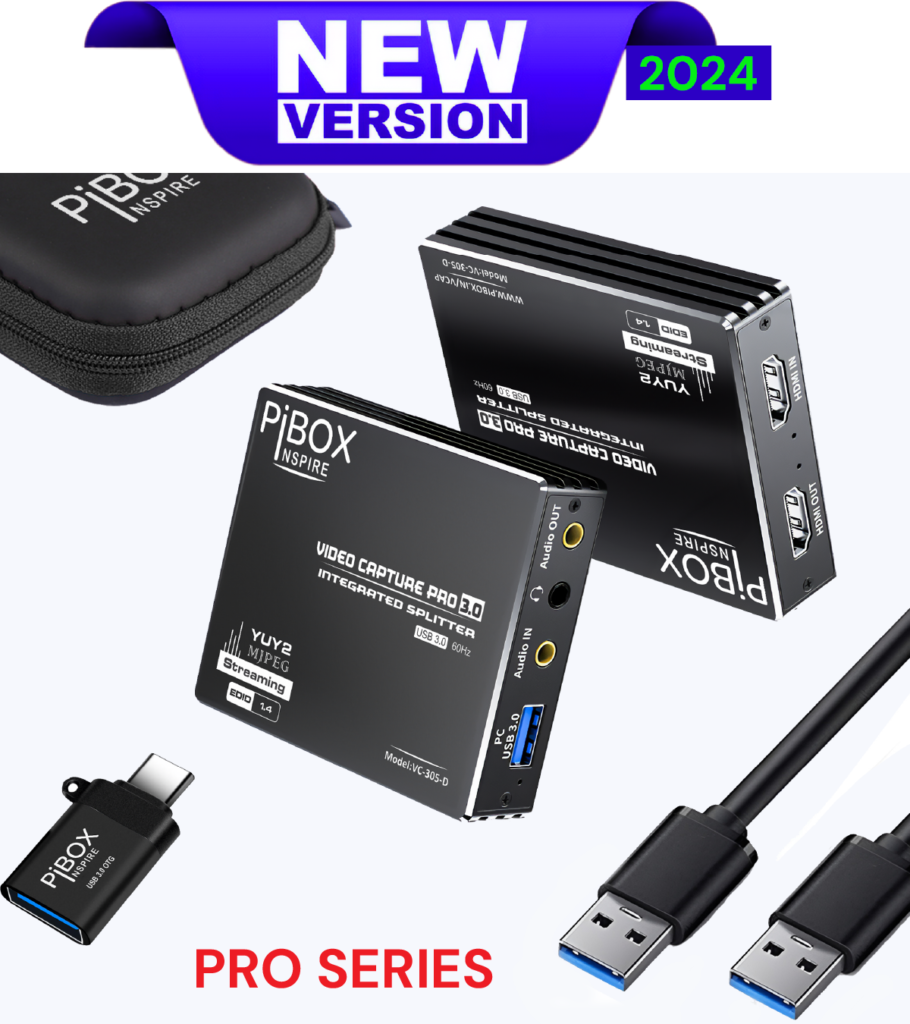
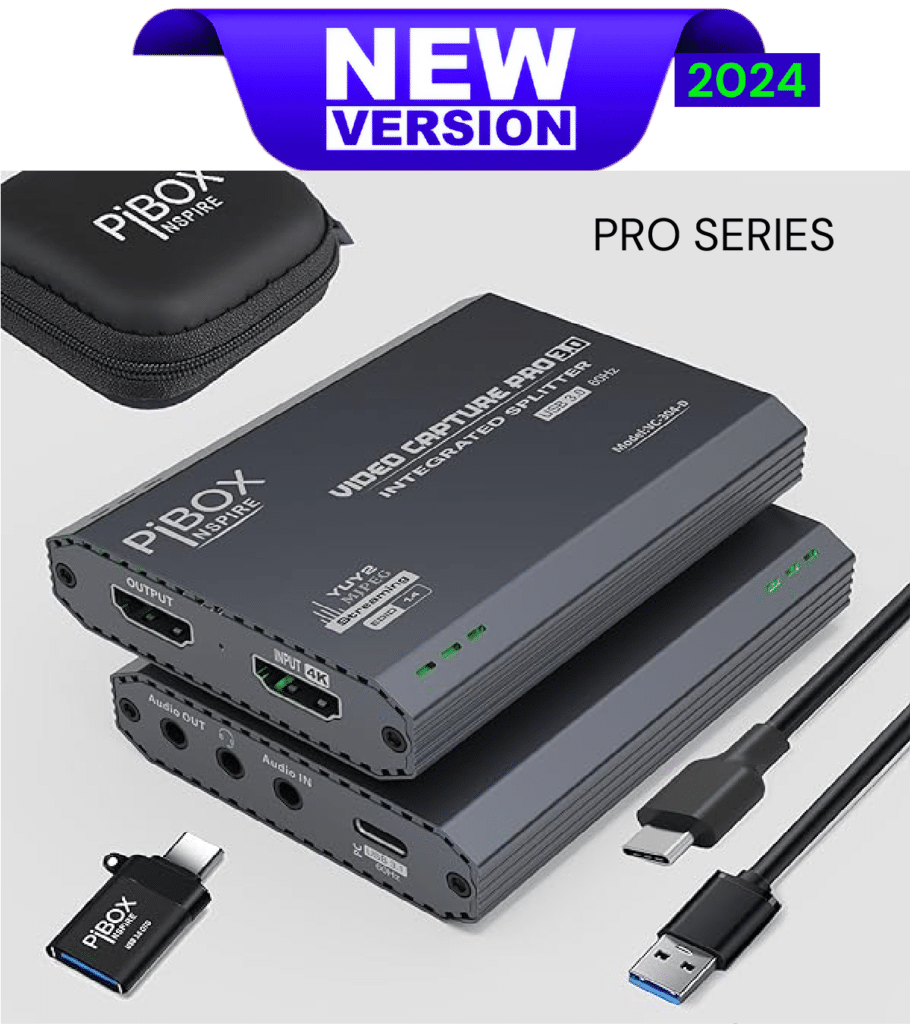
Video Capture PRO VC305D |

Video Capture VC301 |
|
| Launch Year | 2024 | 2023 | 2024 | 2022 |
| Chipset – PiBOX Tested | MS2130 | MS2109 |
MS2131 – Detailed specs on product page |
MS2109 |
|
Format Support
|
MJPEG and YUV | MJPEG | MJPEG and YUV | MJPEG |
|
OUTPUT VIDEO – MAX Support
|
1080P@ 60Hz | 1080P @ 30Hz | 1080P@ 60Hz HDMI Loop Out – 4K | 1080i @ 30Hz |
|
Real Life Latency
|
~50 ms | ~100 – 140 ms | ~50ms | ~160ms |
|
Output Interface
|
USB 3.0 & USB C (OTG) | USB 3.0 & USB C (OTG) | USB 3.0 &OTG, HDMI loop, Audio | USB 3.0 & USB C (OTG) |
|
Input
|
HDMI | HDMI | HDMI+ 3.5 MIC + HEADPHONE | HDMI |
|
|
||||
|
INCLUDED Accessories
|
CABLE TIE , CABLE MGMT Module | CABLE TIE , CABLE MGMT Module | CARRY CASE | Carry Bag |
Comparision & Product SELCTOR
INSTALLATION
Installation
Installation for All PiBOX Video Capture Cards
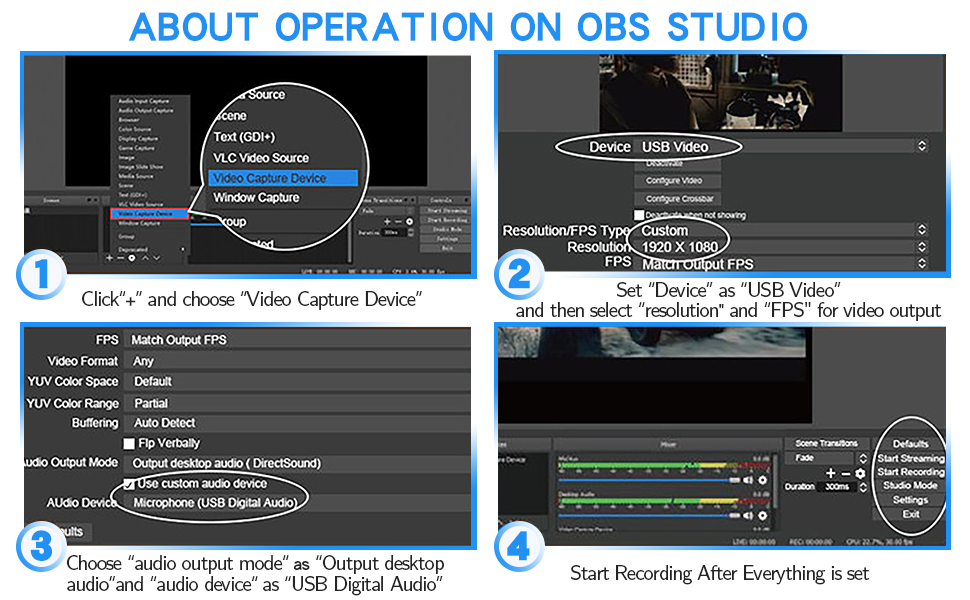
Optimal OBS Installation Settings for the capture device
1. Install & Open the OBS software and- * Add new source *
2. Select – Video CApture Device:
3. Please set the following for optimal results:
Select Device: USB Video, Resolution/FPS Type: Custom, Resolution: 1920*1080, FPS: Match Output FPS, Video format- MJPEG.
4. Audio output mode: Output Desktop Audio(waveout), Custom -Audio device: Digital audio Interface(USB 3.0 Capture)
— ( 1080P @ 60HZ is supported on GEN3 cards)
ALL PiBOX CAPTURE CARDS (SEE BELOW FOR YOUTUBE VIDEO)
Please use the below steps for installation for All video capture cards:
Step 1: Download and Install OBS
If you haven’t already, download and install OBS from the official website (https://obsproject.com/). Follow the installation wizard instructions.
Step 2: Open OBS and Set Up a New Scene
- Open OBS after installation.
- Click on the “+” under the “Scenes” box to create a new scene.
- Name your scene and click “OK.”
Step 3: Add a Source
- Click on the “+” under the “Sources” box to add a source.
- Choose the appropriate source type. For a PiBOX Video Capture Card, select “Video Capture Device.”
- Name your source and click “OK.”
Step 4: Configure PiBOX Video Capture Device
- In the “Device” dropdown menu, select your PiBOX Video Capture Card.
- Set the resolution and frame rate according to your preferences or the specifications of your video source.
- Click “OK.”
Step 5: Adjust Audio Settings (If Necessary)
If your PiBOX Video Capture Card has audio, you may need to configure the audio settings:
- Click on the gear icon next to the “Mixer” box.
- Ensure the correct audio source is selected.
Step 6: Configure Output Settings
- Go to the “Settings” menu by clicking on the “Settings” button at the bottom right.
- In the Settings menu, navigate to the “Output” tab.
- Choose your preferred streaming or recording settings. Common choices include streaming to platforms like Twitch or recording to your computer.
Step 7: Configure Video Settings
- In the Settings menu, go to the “Video” tab.
- Set your base and output resolution. Ensure they match the settings you’ve configured for your PiBOX Video Capture Card.
- Set the desired FPS (frames per second) for your stream or recording.
Step 8: Test Your Setup
- Go back to the main OBS window.
- Click “Start Streaming” to test your setup. If you’re not streaming, click “Start Recording” to test the recording functionality.
Step 9: Adjust as Needed
Monitor your stream or recording to ensure the video and audio quality are satisfactory. Make adjustments as needed in OBS settings or on your PiBOX Video Capture Card.
Update: Addtional Instalaltion support for Gen3 Cards
Step 2.1: Configure PiBOX Video Capture Device for 1080p at 60Hz
- Click on the “Sources” box in OBS.
- Right-click on your PiBOX Video Capture Card source under “Sources” and select “Properties.”
- In the “Properties” window, find the “Resolution/FPS Type” dropdown menu.
- Choose “Custom” from the dropdown menu.
- In the “Custom Resolution/FPS Settings,” set the resolution to 1920×1080.
- Adjust the “Common FPS Values” dropdown to 60.
- Click “OK” to apply the changes.
Delta Step 2.2: Configure PiBOX Video Capture Device for YUV Format
- In OBS, click on the “Sources” box.
- Right-click on your PiBOX Video Capture Card source and select “Properties.”
- Look for a setting related to video format or color space.
- Choose YUV as the preferred format if available.
- Click “OK” to apply the changes.
Advantage over MJPEG:
Recording in YUV format offers better compression efficiency compared to MJPEG, resulting in smaller file sizes without compromising much on image quality. This means you can save storage space while maintaining a high-quality recording.
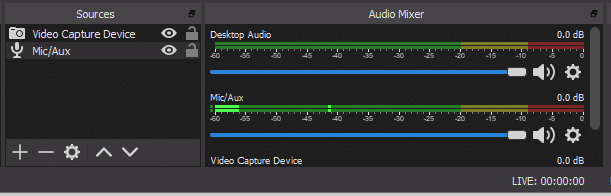
Advanced Audio Setup / Loop Settings
If you want to listen to the audio on speakers / headphones while you stream the video:
System Sounds--> Recording--> Capture Device --> Properties- > Listen--> Check “Listen to Device”
[Below is a reference- Please check your corresponding device ]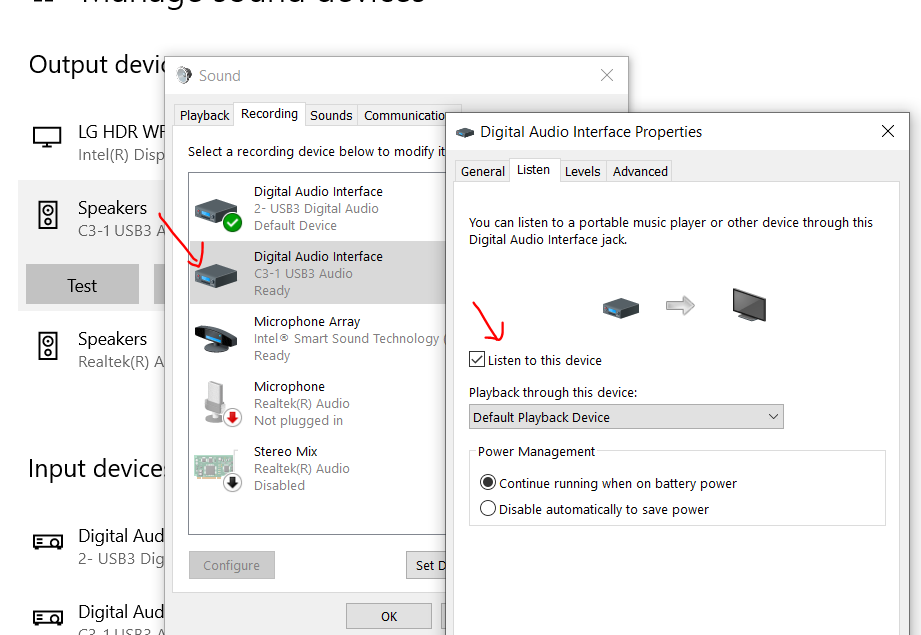
Please refer the below video for advanced audio mixing options:
My OBS audio has a lag ? how to fix?
If you experience video lag when connecting a video capture card to OBS, what should you do?
First, connect the HDMI input from your video source directly to a TV or monitor. If you see lag on the display, that indicates the issue is originating from the video source itself, not OBS. In that case, you’ll need to troubleshoot and fix the lag at the source.
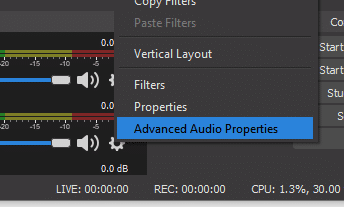
However, if there is no visible lag when connecting directly to a display, the delay is likely being introduced by OBS. To compensate for this within OBS:
- Go to Settings -> Advanced
- Under the “Advanced” tab, you’ll see options to adjust the audio and video sync offset.
- Increase the sync offset value for whichever is lagging (video or audio) until they are realigned.
Alternatively, you can right-click the video/audio source, select “Properties” and adjust the sync offset from there as well.
It may take some trial and error to get the offsets properly synced. But those are the steps to fix video/audio lag introduced by the OBS software after ruling out your source as the culprit.

Troubleshooting / FAQ
What is the Latency expected for this device??
For a reference:It should be within 170ms. [Note: This will depend on the processor and the other applications running]
Gen3 2024 Models: These units has a impressive ~50 – 70 ms latency.
This depends on your PC config and if its Intel I5 – 7th Gen or higher as there is processing power that plays a role in this. Please close background applications to see improvement in latency on slower processors
2. Phone Screen - Does not capture video out - Whats wrong?
Check if your phone supports video out. Connect phone directly to a TV and see if it works. Refer: Pibox.in/willcwork.
Alternatively.. Check any other working hdmi device-Laptop/Set top box etc – to this HDMI device and see if that works. This will allow you to troubleshoot settings.
3. What software can work with the Video capture cards?
OBS is the most famous and can be downloaded from – https://obsproject.com/download.
You can also try OBS Lite, VLC, Xsplit and DemoCreator.
4. What can you do to improve latency?
Allocate higher CPU priority to OBS. Check background processes and make sure no other applications are using resources. If its a older CPU try low PC settings.
5. Why is the device warm?
Its normal to see the device warm. We are using the vents to bring out the heat.
The VC202 and 2023 series runs a little warm but we have optimised heat dissipation.
GEN3 – 2024 Model : Runs relatively at about only 30% of the operating temperature.
6. Can you use the Video capture card to do USB to HDMI out?
No. This can only do Video capture using the HDMI Input. The HDMI port on this is only for input.
[HDMI ports are usually input/output single function units]
7 Best OBS Settings:
Please refer the below settings:
8 VMIX Performance issues and improvemetns ?
If you experience lags on VMIX – Try to see if OBS works great without any lag.
If this is the case its most likely the codec and video format that causes the lag. Please refer the below blogs to assist with the improvements of VMIX.
https://www.vmix.com/knowledgebase/article.aspx/32/optimising-performance
https://forums.vmix.com/posts/t20663-Camera-input-performs-better-in-OBS-than-in-Vmix
Leave a comment below if this helps!